
WAV is often used for interviews, field recordings, sound effects and editing masters because it can store uncompressed PCM audio. A WAV file can also contain other encodings, so the extension alone does not guarantee one bit depth, sample rate or codec. A careful cut starts by preserving the source and ends by verifying the actual output.
What a WAV file actually contains
Microsoft’s RIFF overview explains that WAV uses RIFF chunks, including format and audio-data sections. The container can describe PCM, ADPCM or another supported waveform format. That means “save as WAV” is not a complete quality specification: sample rate, bit depth, channel layout and encoding still matter.
Prepare a safe working folder
- Keep the original WAV in a read-only archive or separate source folder.
- Create an empty output folder for the cut result.
- Record the source duration, channel count, sample rate and bit depth when they matter.
- Choose a new filename such as
interview-approved-range-v1.wav. - Close other programs that may rename or lock the destination during export.
Free MP3 Cutter Joiner writes a separate output; it should not be used to replace the source in place. If a destination conflict is reported, choose a genuinely new path instead of renaming an active input.
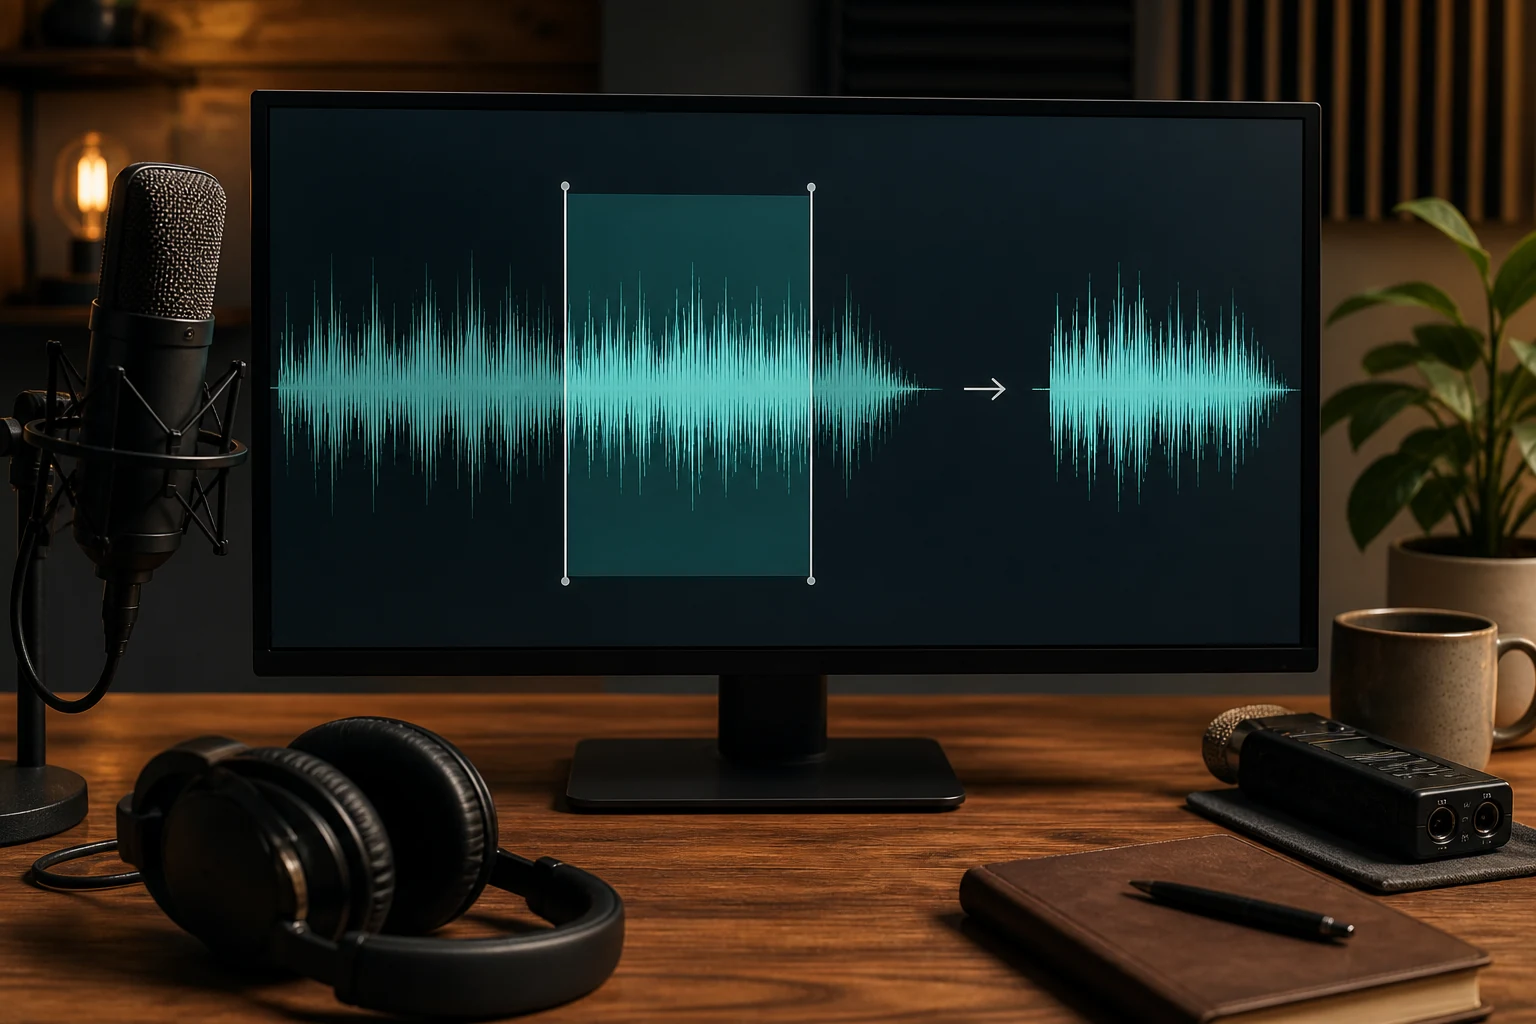
Step by step: trim a WAV file
- Choose Cut Audio / Video. Add the WAV and confirm it is the expected recording.
- Find a rough start. Use the timeline to reach the general area.
- Refine by listening. Move earlier until the first word, drum hit or room tone starts naturally.
- Set the end. Include the full decay of speech or music unless an abrupt ending is deliberate.
- Choose the output. Use WAV or FLAC for continued editing; use MP3 only when a compact delivery copy is the goal.
- Export to a new path. Wait for the final status instead of treating a partial file as complete.
- Verify independently. Play the beginning, middle and end in another player and compare duration with the selected range.
Keep WAV, use FLAC, or create MP3?
| Next step | Practical output | Reason |
|---|---|---|
| Further editing or analysis | WAV | Predictable uncompressed workflow when PCM settings are preserved. |
| Lossless archive with smaller storage | FLAC | Lossless compression, if the destination supports it. |
| Email, web or review copy | MP3 | Smaller and widely playable, but lossy. |
| Phone-centered delivery | MP3 or M4A | Compact; verify support in the actual target app. |
Do not export a low-quality MP3 back to WAV and describe it as restored quality. WAV can store decoded samples without further loss, but it cannot recreate information already removed by a lossy encoder.
Sample rate, bit depth and channels
For a simple cut that will continue through an editing workflow, match the source sample rate and channel layout unless there is a deliberate delivery requirement. Converting 44.1 kHz to 96 kHz does not invent new high-frequency information. Reducing bit depth or changing channels can be appropriate for a target, but it should be an explicit decision and verified on the destination device.
Mono voice does not become meaningfully more detailed when copied into two identical channels. Conversely, collapsing a stereo music or ambience recording to mono can cancel or alter content. Listen to the actual result rather than treating channel count as a cosmetic setting.
Avoid clicks and clipped words
A cut can sound abrupt when it begins or ends at a large waveform amplitude, but blindly choosing a visual zero crossing is not enough for speech or multichannel material. Listen at normal and low volume. Leave a small natural lead/tail for spoken recordings. If a creative fade is required, use an audio editor that explicitly supports fades; a range cutter should not pretend that a hard cut includes one.
Large WAV files and disk space
Uncompressed audio can be large. Keep enough free space for the output and temporary work, particularly for long multichannel recordings. Use a local disk rather than a cloud-synchronized folder when a sync client could rename temporary files during export. A failed job should leave the source intact; preserve the error details and use a new output name for the next controlled attempt.
Verification checklist
- The output opens and plays to the end.
- The first and last sound are complete.
- Duration is close to the selected end minus start.
- Sample rate, bit depth and channels match the plan.
- No temporary or partial file remains.
- The original WAV hash, length and modification time are unchanged.
Common problems
The WAV output is much larger than the source
The source may have used compressed audio or a lower sample format. Inspect both technical formats instead of comparing extensions alone.
The first word is clipped
Move the boundary earlier and listen again. Speech attacks can be shorter than the displayed timeline resolution.
The result is silent in one channel
Check source channel layout and the selected output. Do not assume every two-channel WAV contains conventional stereo.
Authoritative references
Microsoft documents the RIFF chunk structure used by WAV, including the format and data sections. FFmpeg documents decoding and output mapping. See Microsoft RIFF and FFmpeg documentation.